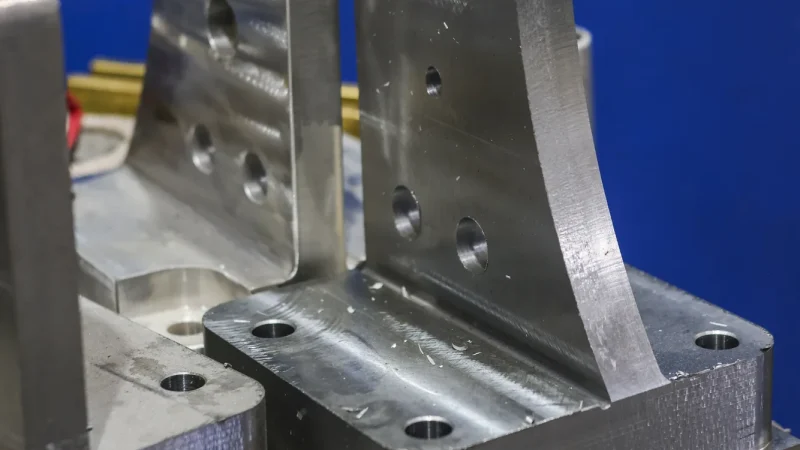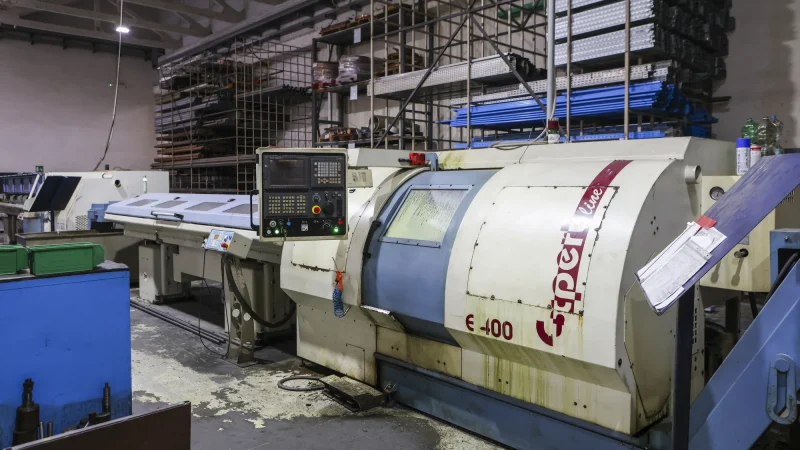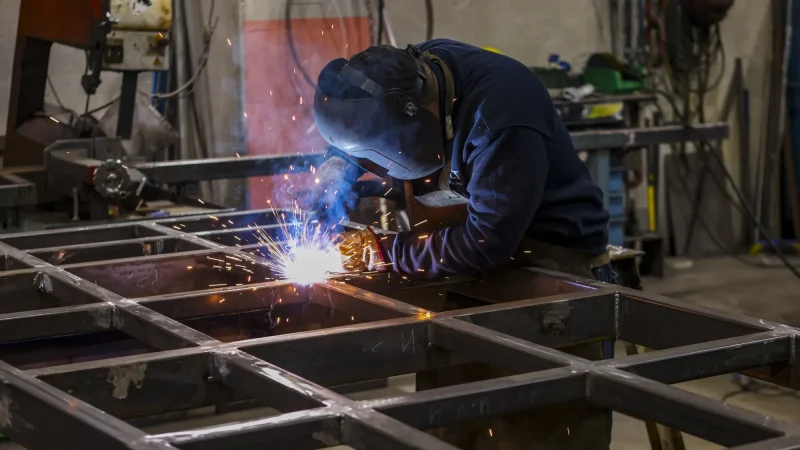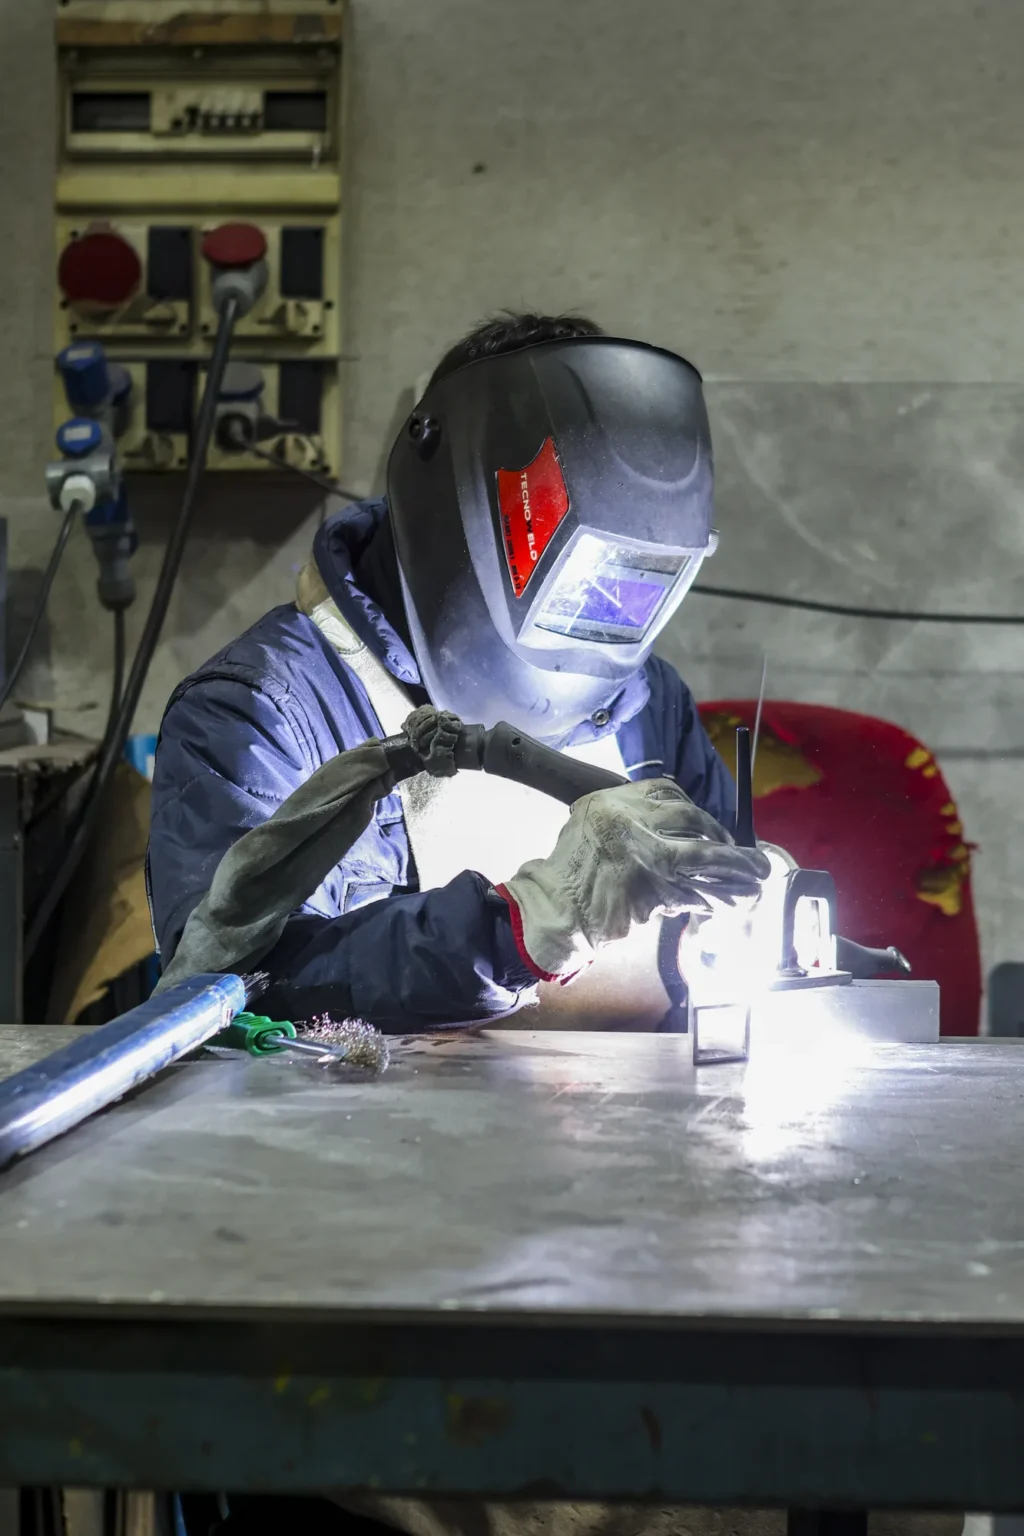
A welded structure looks like a simple object until you see it as a sequence of decisions. Each stage inherits the errors of the previous one, and some things can no longer be recovered. Here is the cycle as we go through it, with what really matters at each step.
1. Design and development
Before cutting, we decide how the part will be held together: where the weld seams run, how much material is needed for finishing passes, how the geometry will be checked at the end. A drawing that does not anticipate how a part will be masked for painting becomes a problem three weeks later.
2. Cutting and preparation
This is where material yield is fixed, meaning how much steel ends up in the part and how much in scrap. Edge preparation, with bevels, cleaning and alignment, is worth more than it seems: no welder can save a badly prepared edge.
3. Forming
Bending, rolling, pressing. This is the stage where the material remembers it is a material: springback and thickness variations must be anticipated, not discovered.
4. Assembly and tack welding
The assembly is dry-fitted and tack-welded. On a large assembly this is the moment when you see whether the tolerances of the individual components fit together. Assembly jigs are born here, and on a production run they pay for themselves immediately.
5. Welding
The sequence of the seams is not a cosmetic detail: it determines how the structure distorts as it cools. On important structures, welding is done in alternating steps precisely to govern that movement. Where required, the joint follows a qualified procedure and stays on record.
Straightening
After welding, something always moves. Straightening brings the geometry back within limits; it is a real operation, with its own time, and it should be quoted rather than pretending it does not exist.
6. Blasting and treatments
Surface preparation decides the life of the paint far more than the paint itself. A primer applied to an unprepared surface peels off, and it does so when the part is already installed at the customer’s site.
7. Painting and final inspection
Primer and finish cycle according to the destination environment: a frame that stands outdoors in a marine environment does not call for the same cycle as one that lives inside a factory. Then dimensional verification, visual inspection and the documents that accompany the delivery.
The two questions that change the quote
Where will the part live? Environment, temperatures and proximity to the sea decide the material and the painting cycle. How many times will you make it again? If it is a one-off, set-up is kept to a minimum; if it is a production run, it is worth investing in it, and the second batch costs less than the first.
The processes available, department by department, are on the Services page.